Hiking and photography make the perfect partner, as that breathtaking scenery and captivating wildlife is well worth capturing. If you want to create snapshots of moments that will be remembered forever, it’s worth brushing up on your camera skills and exploring your options for hiking photography gear.
If you’re a hiking or trekking enthusiast and have been wondering how to take better outdoor pictures, look no further. Our extensive guide features all the hiking photography tips you’ll need to get the best possible shots while out and about.

Tips for better hiking photography
Capturing great photos during a trekking or hiking trip requires a combination of photography skills and an understanding of the challenges posed by the outdoors. It also takes patience, preparation and commitment.
Here are some essential hiking photography ideas to prepare you for your next adventure.
Get the right camera
It goes without saying that your camera choice is pretty pivotal to the outcome of your hiking photography. A digital single-lens reflex camera (DSLR) is one of the best cameras for hiking photography, and reliably creating striking images. With a fast shutter speed, great autofocus and low power use, they have some appealing selling points.
The main drawback is that DSLR cameras are bulky and heavy. However, if you have your heart set on this type of camera and want to know how to carry a DSLR while backpacking, you can use a sturdy neck strap, dedicated bag or sling designed especially for it. If you’d rather save weight and space, consider a mirrorless or compact camera.
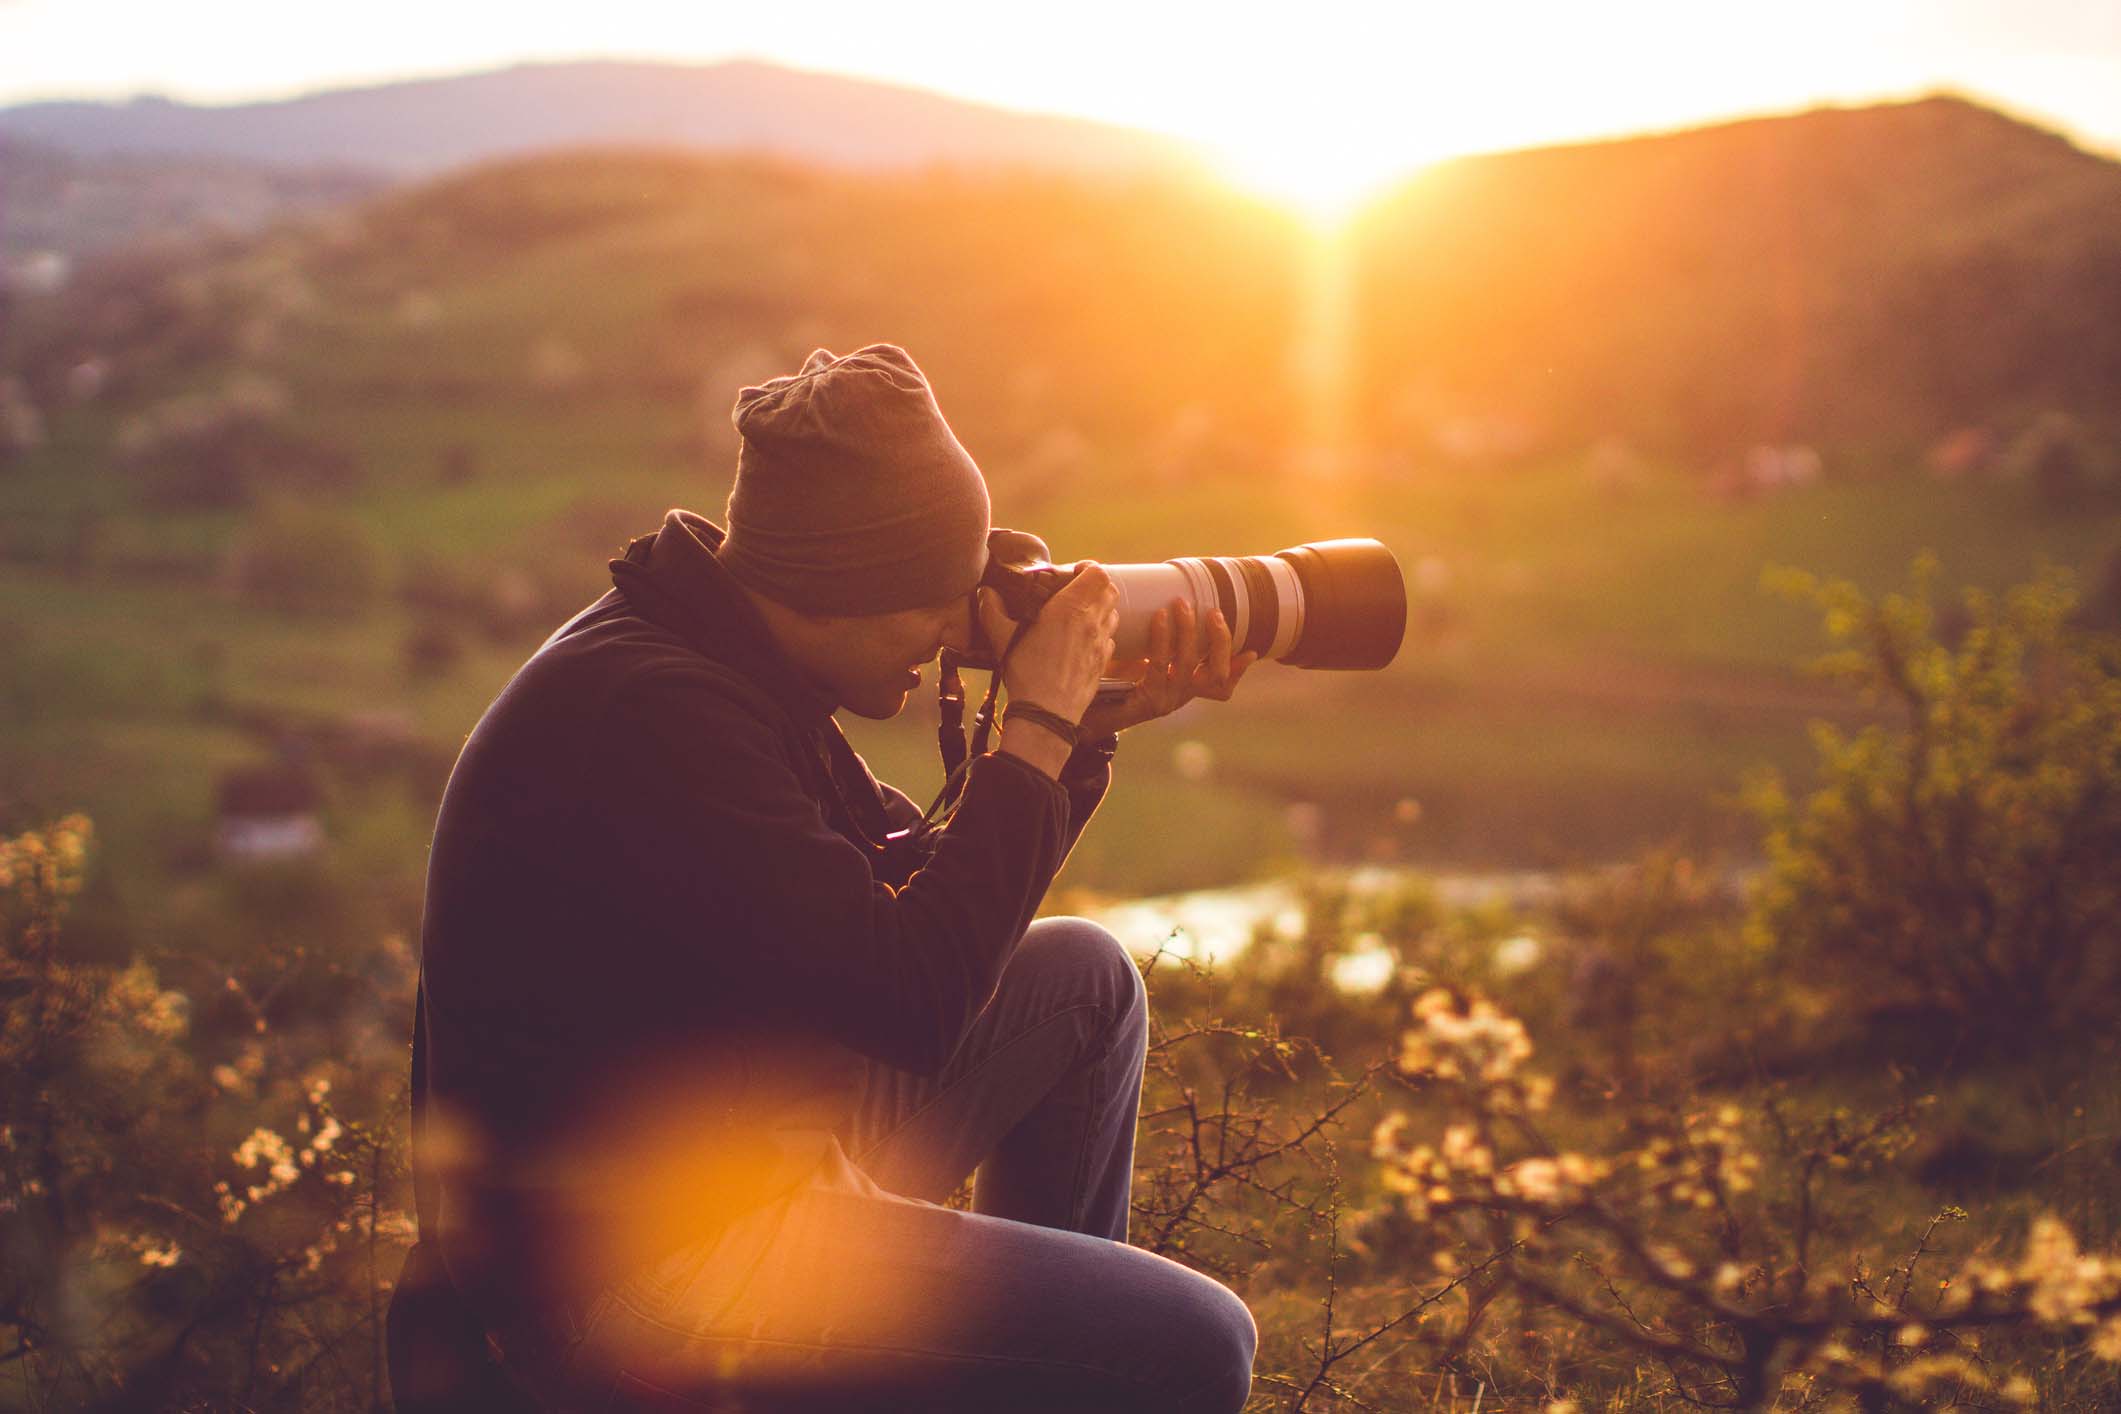
Assess your lens options too; your best lens for hiking photography depends on your needs. A wide-angle lens is great for landscapes and capturing the splendour of the natural world, while a telephoto lens is ideal for razor-sharp shots of distant wildlife or other details.
Of course, modern smartphones can do a pretty impressive job of taking photos these days. With every new model, added features increase the quality and range of what you can produce, to a pretty professional standard. If you’re researching how to take good pictures on your iPhone for hiking, there are plenty of online guides and video tutorials by photographers, demonstrating the vast potential. It’s also worth knowing that there are now plenty of other manufacturers rivalling the Apple giant for camera sophistication and editing suites.
Familiarise yourself with your equipment
Get comfortable using your camera or smartphone before you go out. There’ll be plenty of advanced features that can take some time to master, so you want to avoid cutting into the time on your hike or trek by not figuring these things out on the go. Understanding the various settings in advance will let you hit the ground running before you get there, for prizeworthy hiking photography you’ll be proud to show off.
Get to grips with adapting the shutter speed of your camera for different subjects, as well as changing the aperture of the lens. This dictates the depth of field by adjusting the amount of light that passes through the opening. The ISO sensitivity is also a useful feature to play around with, as this will need to change depending on the light conditions.
Make sure your camera gear is in good working order before you go out on your trip, with a full power charge. Carry spare batteries, memory cards and power banks for longer trips. The best hiking photography backpack designs will feature compartments for all your essentials, so you can keep things secure and easily accessible.
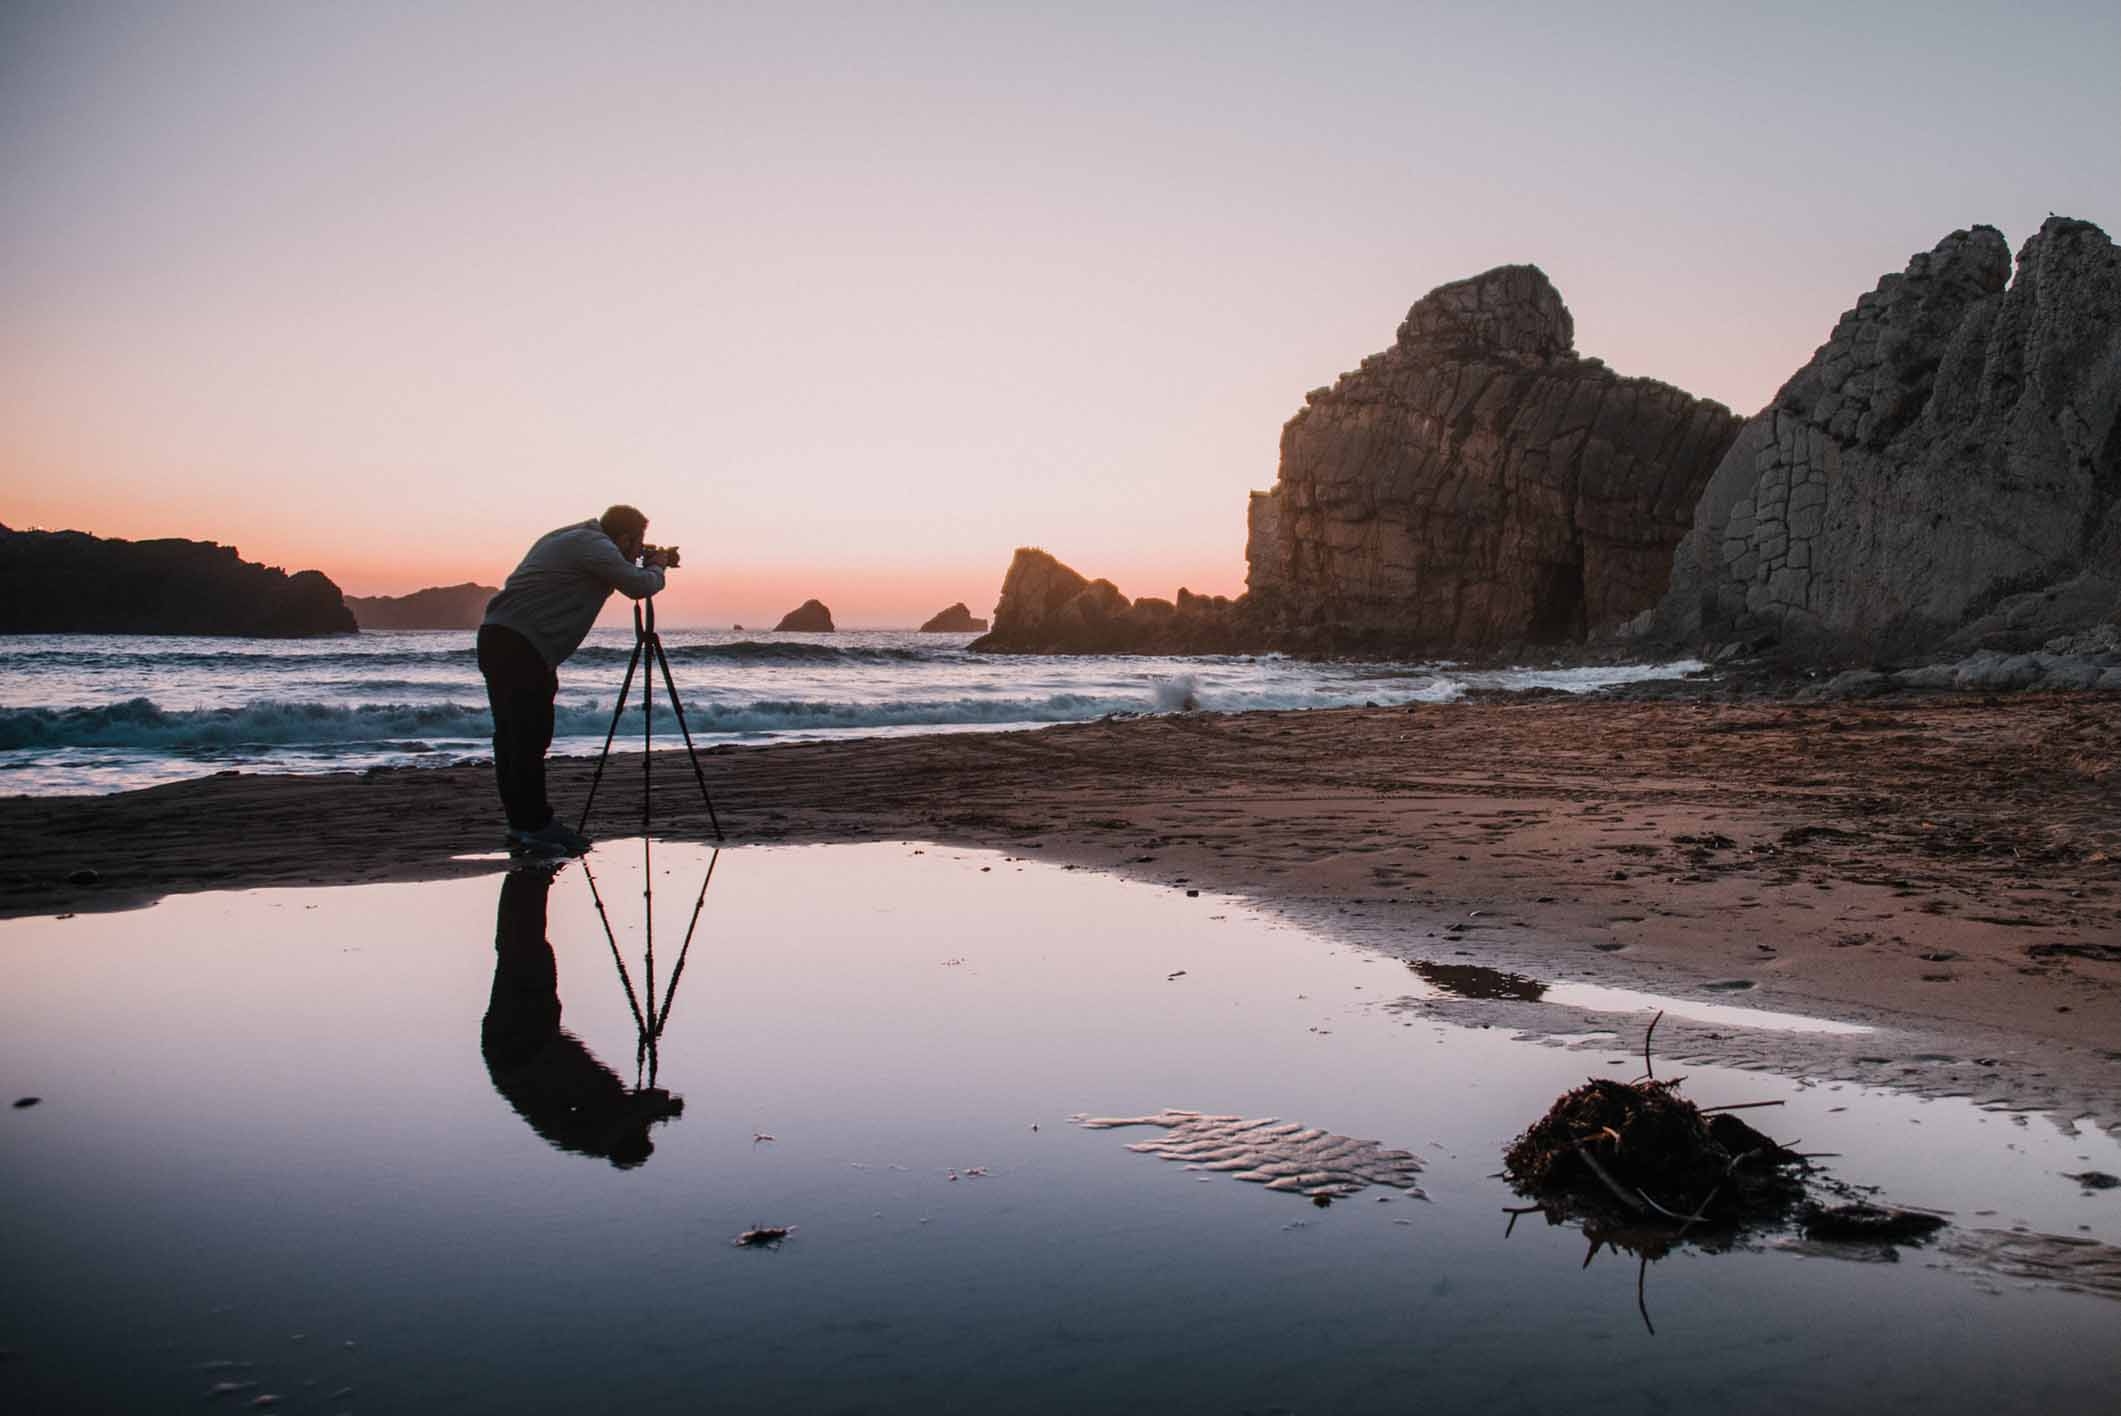
If you’re using a tripod, you can practise using it in your garden or a local park before you set out. A sturdy, lightweight tripod can help to stabilise your shots, especially in low-light conditions. Plus, if you’ve been wondering how to take hiking selfies, this will help you make yourself the subject in some of your shots without the results looking amateur.

Plan your shots
Research the location and its natural features before your hike, to identify the best photo opportunities. Consider the weather, terrain, and lighting conditions for your planned trek, using natural light to your advantage. Think about the best times of day for this, such as the golden hour during sunrise and sunset. This way, you can time your trip around getting to the most optimal setting when the light will be most impressive, the sky naturally magical in colour.
Remember to avoid shooting directly into the sun, but do use it to backlight subjects for a compelling effect. Pay attention to the quality of light and shadows in the area you’re shooting in. Have a backup plan for somewhere else to shoot if conditions aren’t as expected in your destination.
Follow general photography rules
There are some key principles to keep in mind with hiking photography, just like with any other kind. Keep it simple and don’t try to include too much in one shot. Avoid cluttered compositions, picking a powerful point of focus and sticking with it. Less is often more and if you have a single, compelling subject, you’ll tell a clear story in your photos.
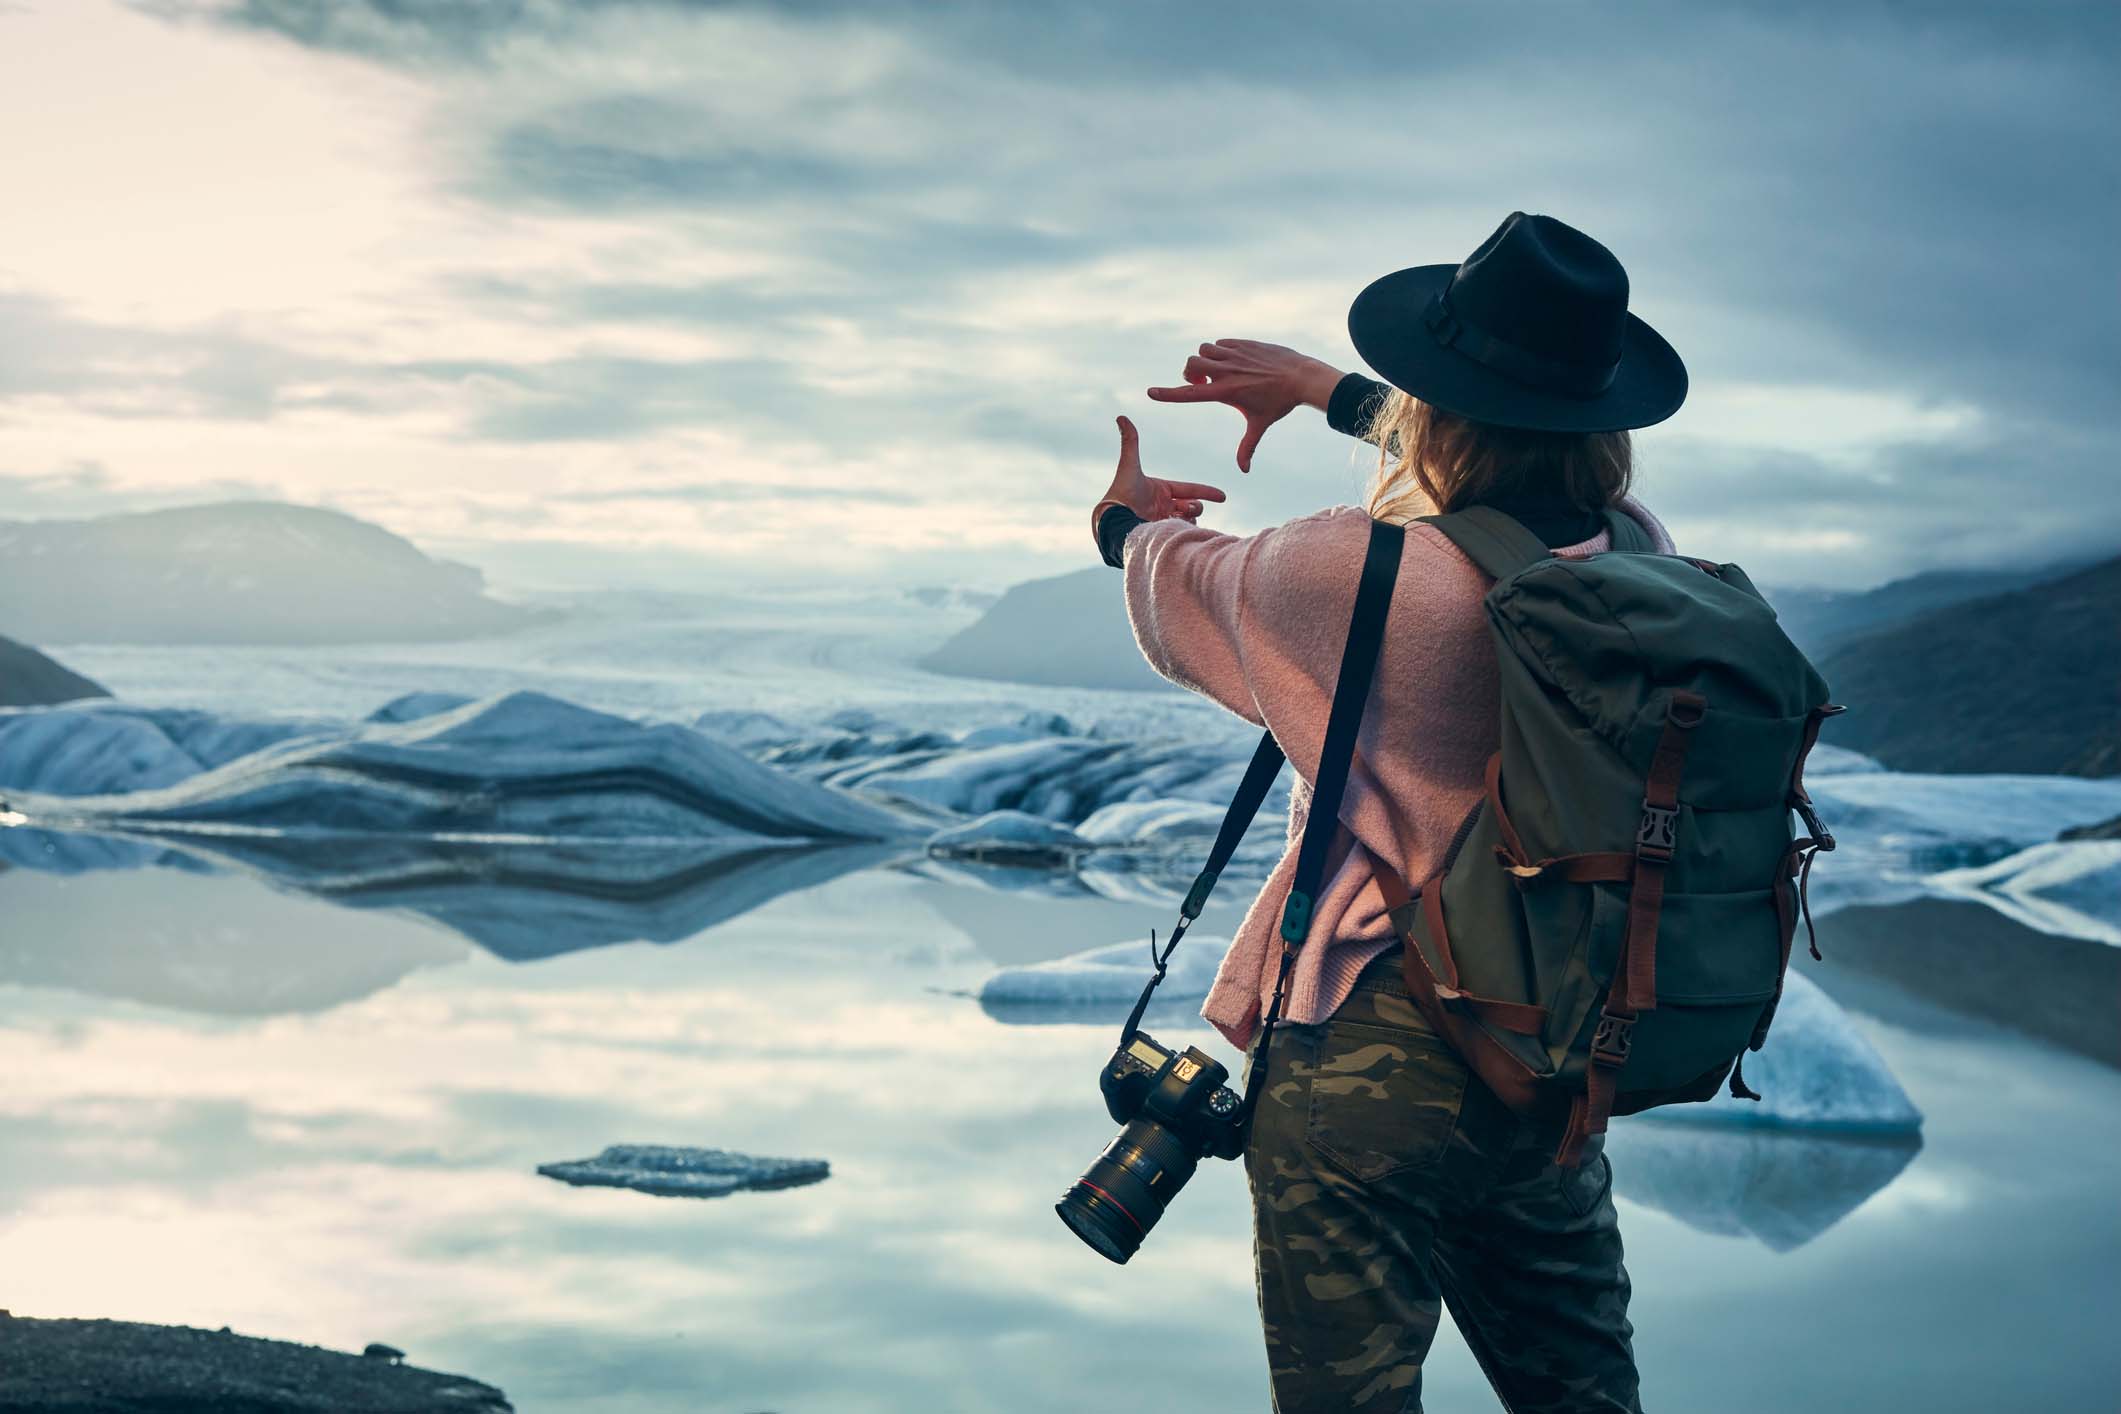
Follow the rule of thirds for a balanced composition, looking for leading lines and framing elements in the landscape. Experiment with different perspectives for the best chance of unique shots. Don’t be afraid to try a variety of techniques to find out what works for you, taking multiple shots from an array of angles and focal lengths.
Be patient
Nature photography often requires patience to capture the perfect shot. Take your time and enjoy the process. The more you get comfortable with nature photography, the better your skills will become. The only way you can be fully at ease is by working on your ability to be present in each moment and keeping an open mind about what to expect. Don’t be too disappointed if things don’t turn out as you’d hoped; hiking and nature photography should be harmonious with the environment and it’s good to cultivate a genuine appreciation for the experience itself.
When it comes to shooting wildlife, you may have to wait around for extended lengths of time. Be respectful and try to avoid disturbing them as much as possible; never go too close to animals to try and manipulate the results of your photos. This can pose a risk to your own safety, too. Don’t become too attached to a particular shot; instead, tell a story through your photos by capturing the challenges and highlights of the trek.

Refine the editing process
At the post-processing stage, you can make careful adjustments your photographs for a beautiful finished result. This will help you to bring out the full potential of your images, conveying the grandeur of the natural world. You’ll want to complement what’s already there, rather than changing it beyond recognition. A moment was captured and that should remain as an accurate reflection of your experience. The best nature photography is rooted in strong compositions and thoughtful capture techniques.
Review your photos and select the best ones to edit. Be ruthless in your selection process, prioritising quality over quantity. Use photo editing software to enhance your images, but don’t get too carried away. Simply adjust exposure and white balance, contrast, and colour temperature as necessary. Try to maintain the natural look and feel of the scene, avoiding heavy-handed editing that makes the photo appear unrealistic.
You can also crop your images to improve composition or remove distractions, ensuring that the horizon is level if applicable. Use lens correction tools to address any distortions caused by your camera lens, such as barrel distortion or chromatic aberration. Use layers and masks to make local adjustments. This allows you to target specific areas of your image for enhancement, like darkened skies or lightened subjects.
Continuously refine your editing skills through practice and learn from online tutorials, courses, or photography communities. You could share your edited photos with fellow photographers or mentors, to get constructive criticism and improve your editing technique.
Get Trekking and Hiking Insurance with SportsCover Direct
When you’re out on your next big trekking or hiking adventure, you’ll want to maximise your enjoyment and savour each minute, as well as expertly capturing memories on camera. That’s why finding reliable trekking and hiking insurance is always a good idea.
SportsCover Direct’s hiking insurance offers cover for peaks up to 7,000, wherever you are in the world. As one of the UK’s leading providers of this kind of insurance, you can rest assured that you’ll have all your needs catered for. Choose from travel insurance for leisure or competition, which includes cover for medical costs, cancellations and more. If you already have travel insurance, our bolt-on product will give you the added protection you need. Then there’s our Sports Accident Insurance, with benefits including personal liability and income protection.
Read more online and get a quote to suit your needs. We have a dedicated team on hand to help you with any queries.